With Christmas only – gack! – a little more than two weeks away, I’d like to share a classic recipe from my childhood: butter spritz cookies. I make them every year. Only a few standard ingredients are needed, and recipe variations give you an assortment of different looks.
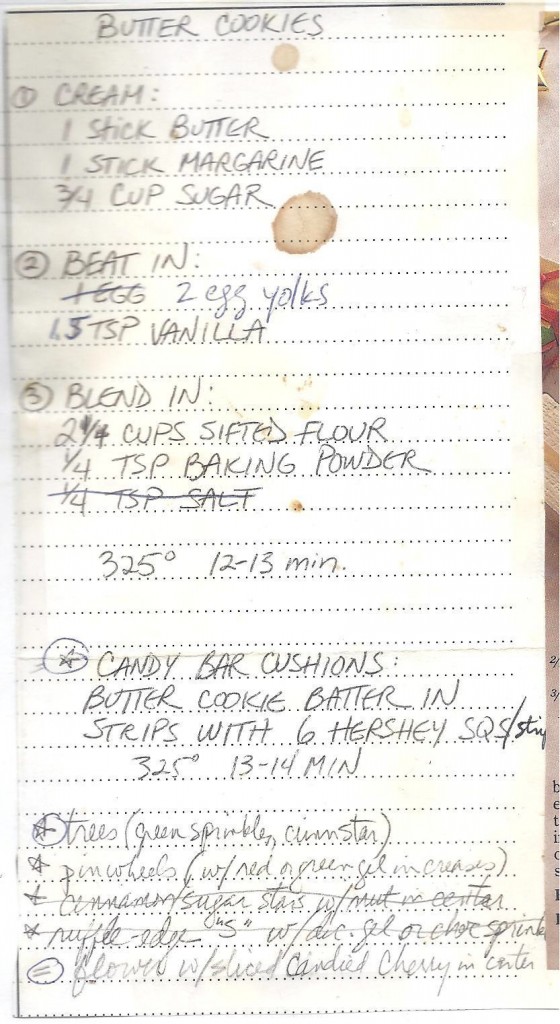
Here’s the paper copy I refer to, complete with vanilla extract stains and notations over the years:
Nowadays I have a more tech-y twist on recipe-reading. I love the RecipeTin app on my iPad!
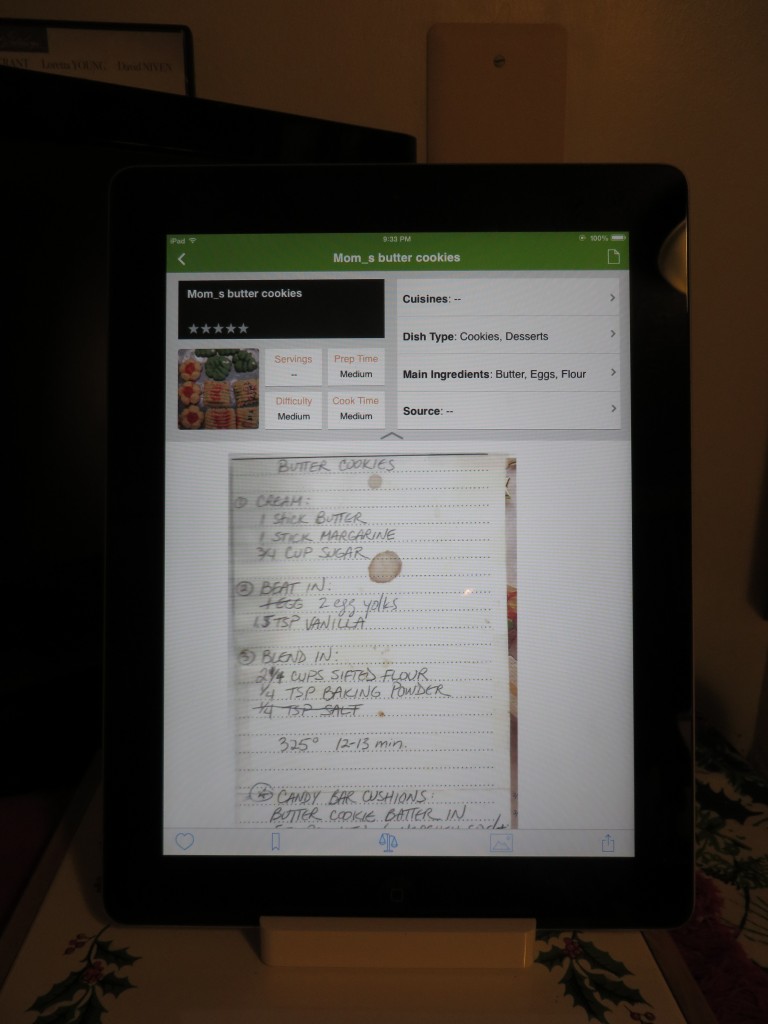
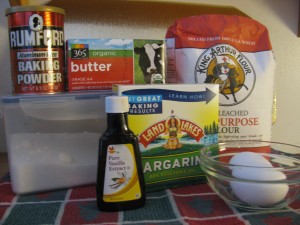
Okay, back to the task at hand. Here are the ingredients you’ll need for the basic butter cookie dough:
Preheat the oven and set out the butter, margarine and egg. Then go do something else for a while. Put your feet up; you are about to perform cookie awesomeness, and you deserve it.
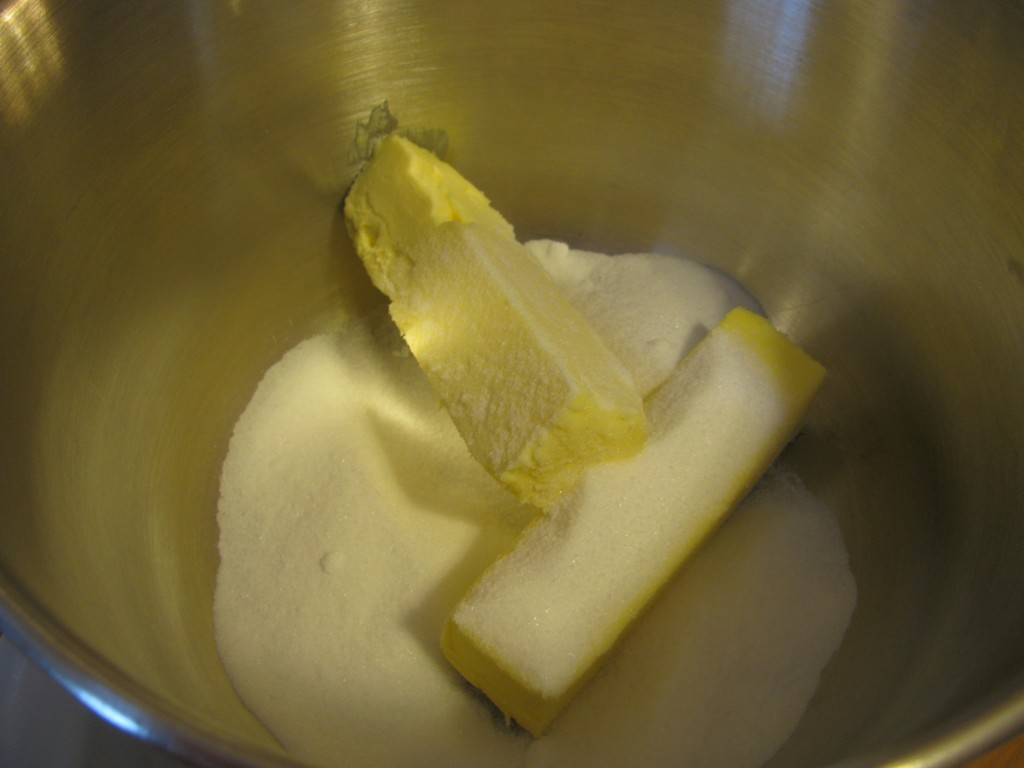
When the butter/margarine sticks are soft, dump them into the mixer bowl with the sugar.
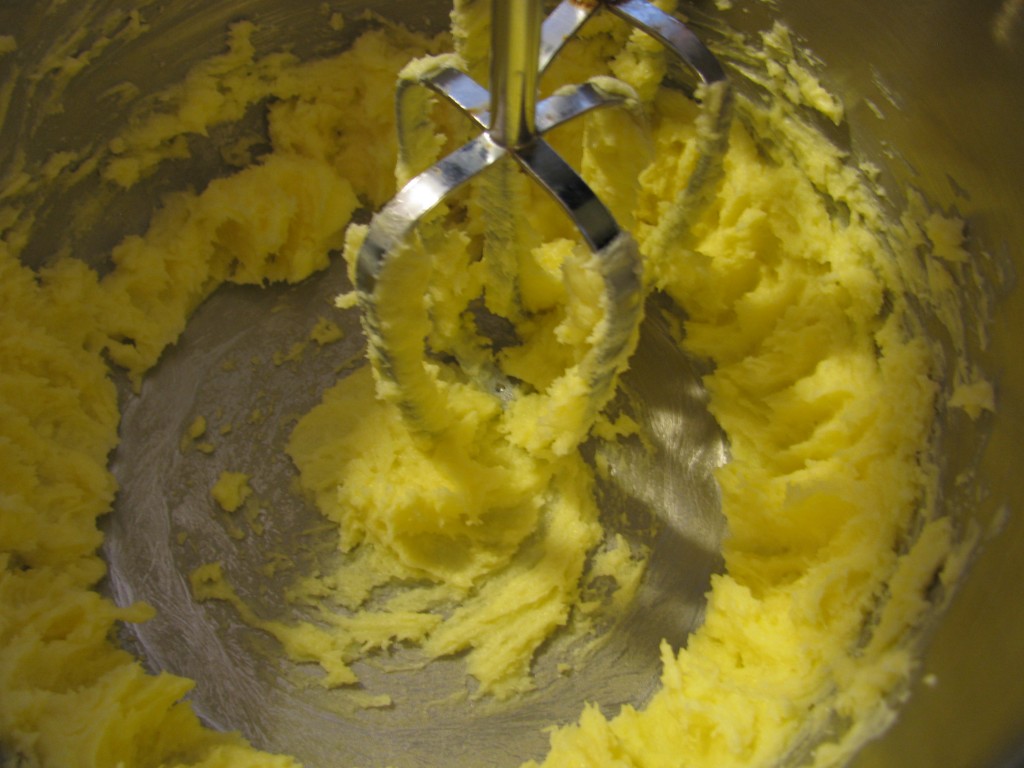
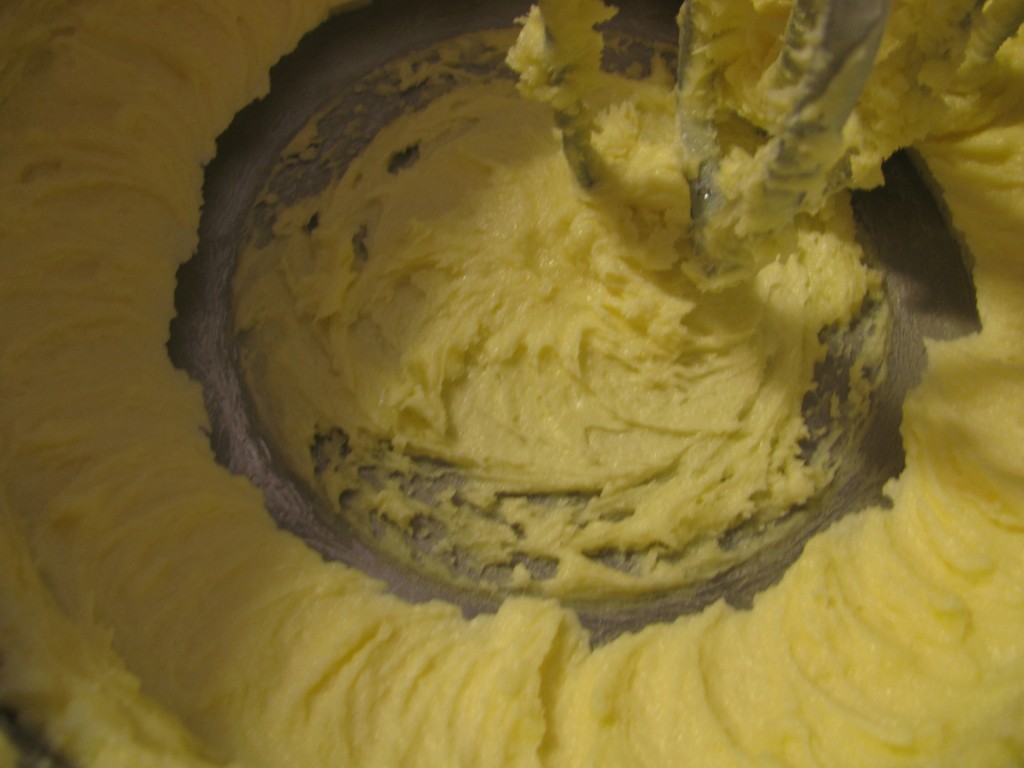
Cream together (on my mixer, that’s about a “4” speed), scraping the sides occasionally with a rubber spatula. You’ll be tempted to stop when it looks like this:
But keep going, until it looks like this:
I know, big difference, right?
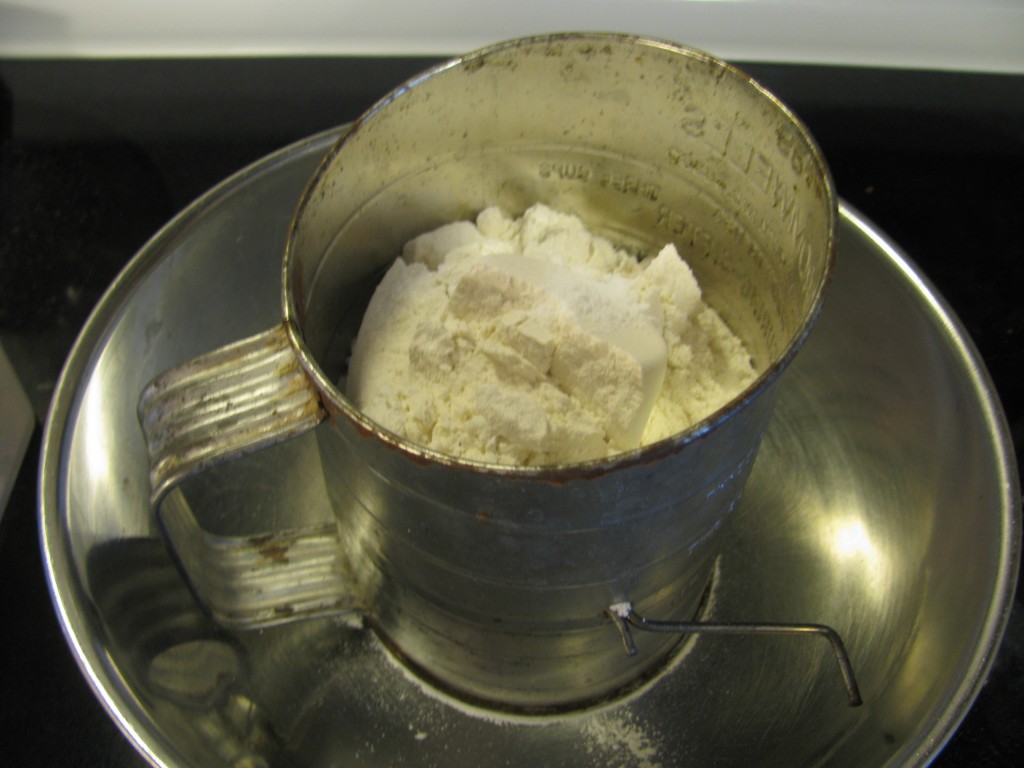
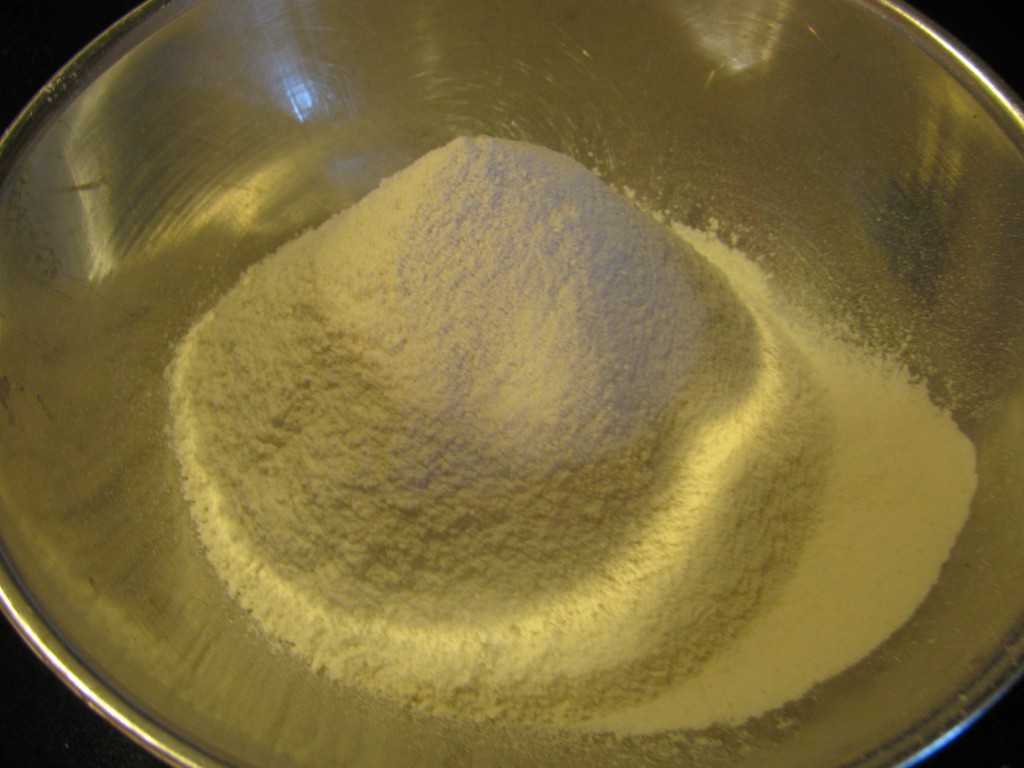
While the butter and sugar are working their magic in the mixer, you’re going to do a little sifting of the dry ingredients. Some folks say you don’t need to sift flour before using. Personally, I’m a big fan of sifting. When I was a kid helping out in the kitchen, I got such a kick out of using the sifter that I would sift each batch twice. It’s a great activity for the kids to help out with – if you don’t mind a cloud of flour in your kitchen.
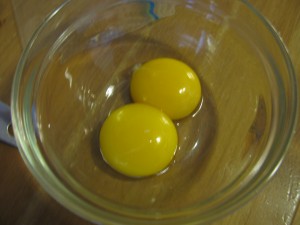
Next, you’re going to separate two egg yolks. For tips on separating eggs (with pics), check out my Spiced Pecans post (except this time we’re keeping the yolk, not the white).
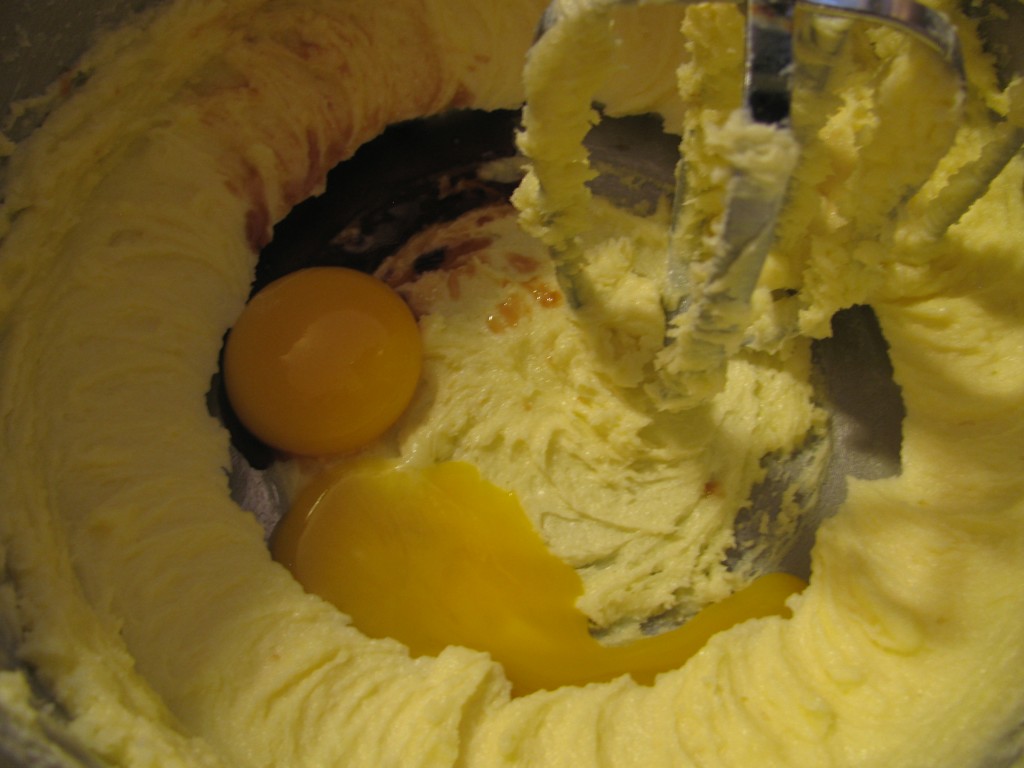
Add the yolks and vanilla to the creamed butter/sugar mixture:
And once that’s nice and blended together, add the sifted flour/baking powder mixture, a little at a time. Keep scraping – that flour gets everywhere.
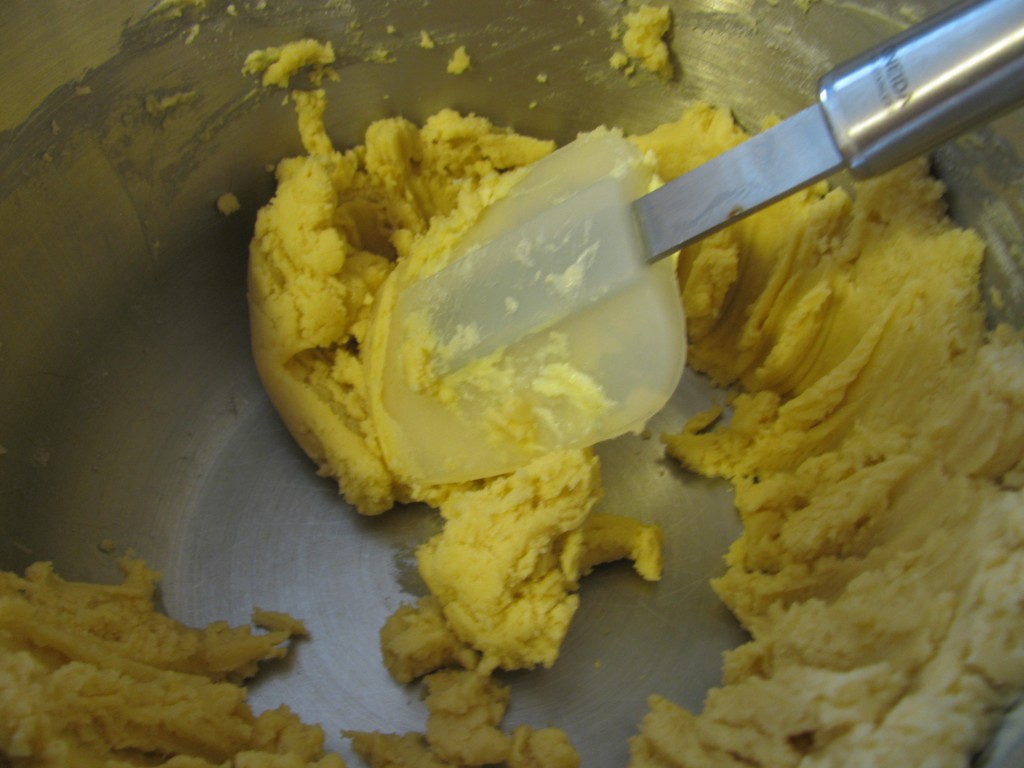
When everything is incorporated, the dough will be fairly stiff, like this:
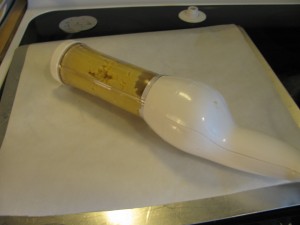
Now it’s time for the fun part. This recipe is designed to stand up to a cookie press, so it’s time to load it up!
If you’ve been reluctant to use a cookie press, no worries. There’s a little bit of a learning curve involved, but it’s a fast way to make a lot of cookies. Quicker than roll-out or drop-style, once you’re in the “pressing zone.” Growing up, my mom was seriously into speed – she had to be, with the huge neighborhood demand at Christmastime. For more on our holiday tradition, check out my earlier blog post: Butterscotch Haystacks, and a story.
About cookie presses:
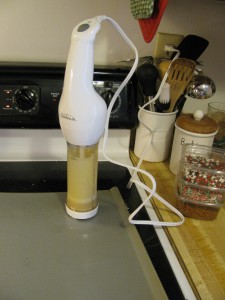
There are two styles: hand-powered (with a plunger you adjust yourself in order to push the dough through) and electric-powered (battery or corded). Presses come with standard tips and plates for creating stamped designs, such as trees, flowers, stars, and so on. When using the tips, you hold the press parallel to the cookie sheet, and for the plates, you hold it upright, like this:
There’s a bit of a press-release-lift motion involved, but once you get the hang of what works for you (I count to myself), it’s easy.
**Note: while you’re working with the cookie press, make sure you cover the rest of the bowl of dough with a damp towel, to keep it from drying out.
What I love about this butter cookie dough is that it’s so adaptable. In experimenting over the years with different variations, my mom came up with some really nice ones, including the runaway favorite that I’m going to share with you today: chocolate pillows, also known as candy bar cushions.
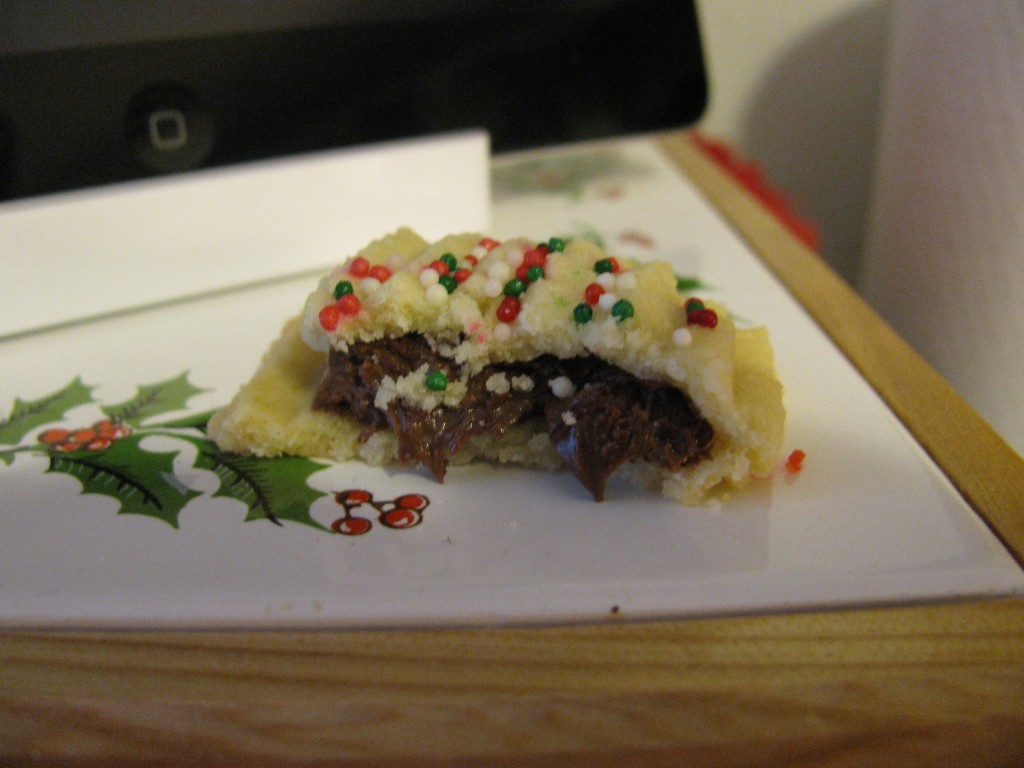
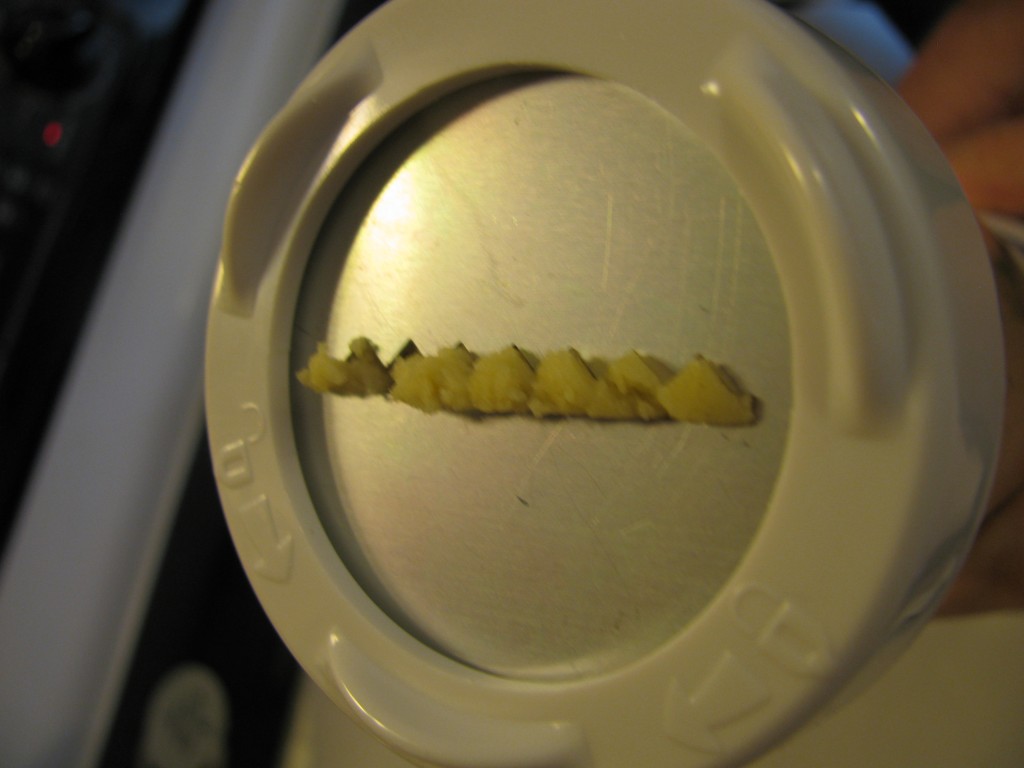
Once you’ve loaded up your cookie press with butter cookie dough, you’ll need to put on this plate:
Hold the press parallel to the cookie sheet, with the wavy side of the plate design on top, the way it is in the picture. Then press out a ribbon of dough, so it looks like this:
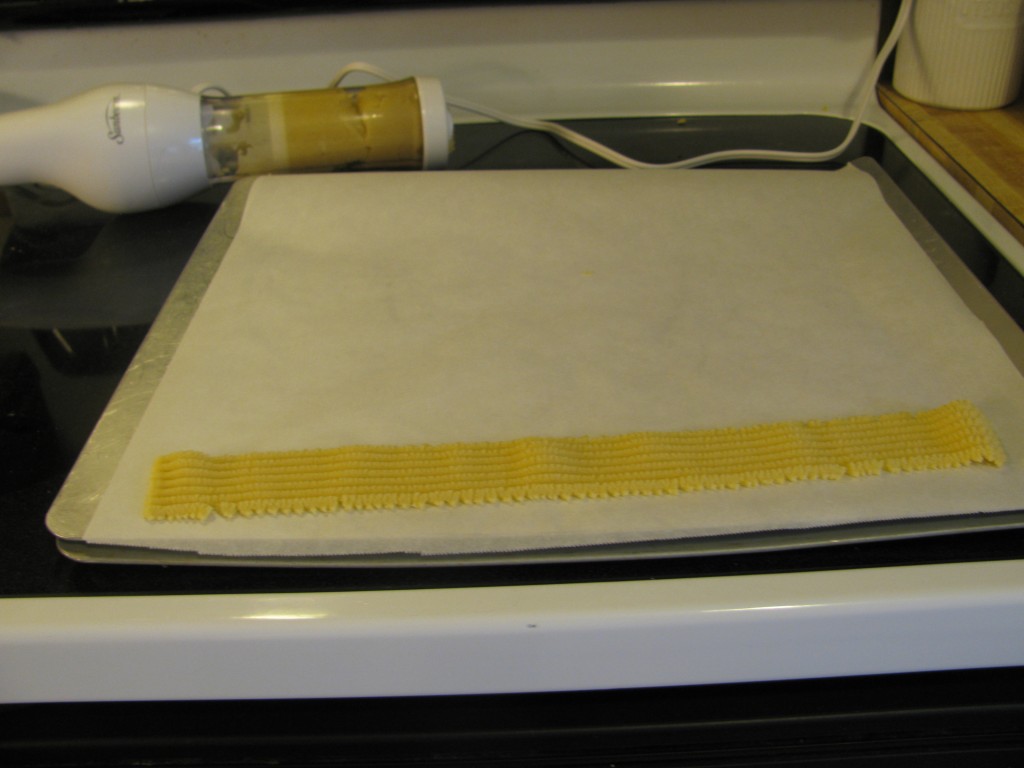
Then you’ll want to cut some chocolate squares:

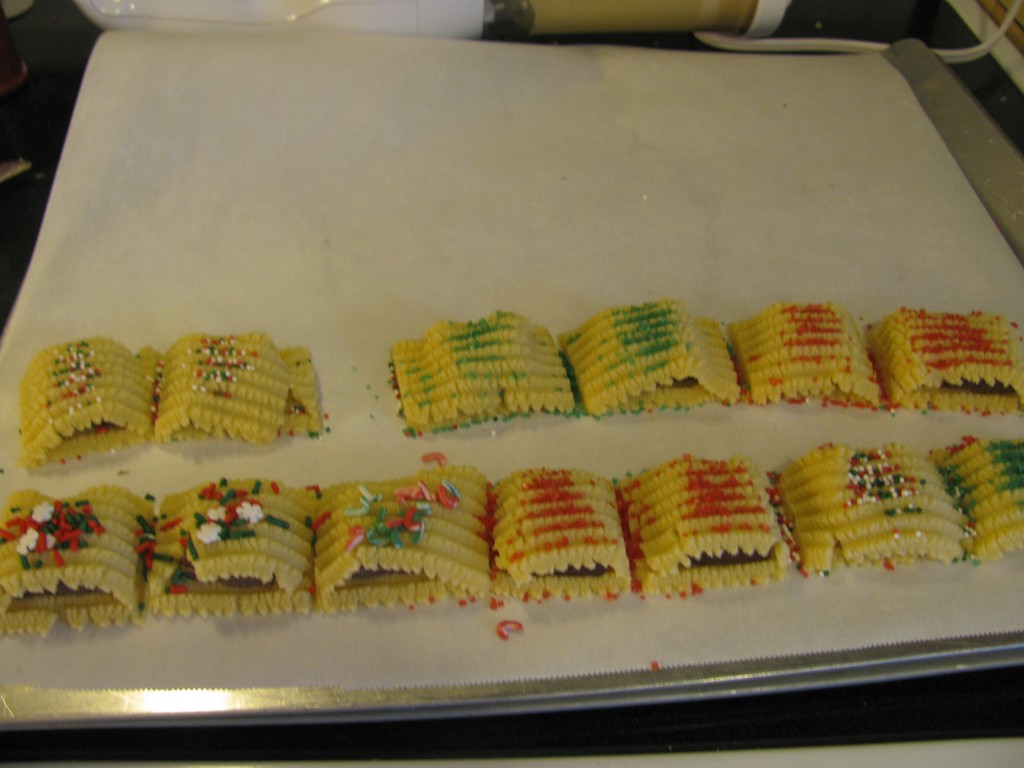
Place the squares on the ribbon of dough, spaced about an inch and a half apart, but I’ve never been exact about this. Then apply another ribbon of dough over top. Use a knife to cut the cookies apart before baking, like this:
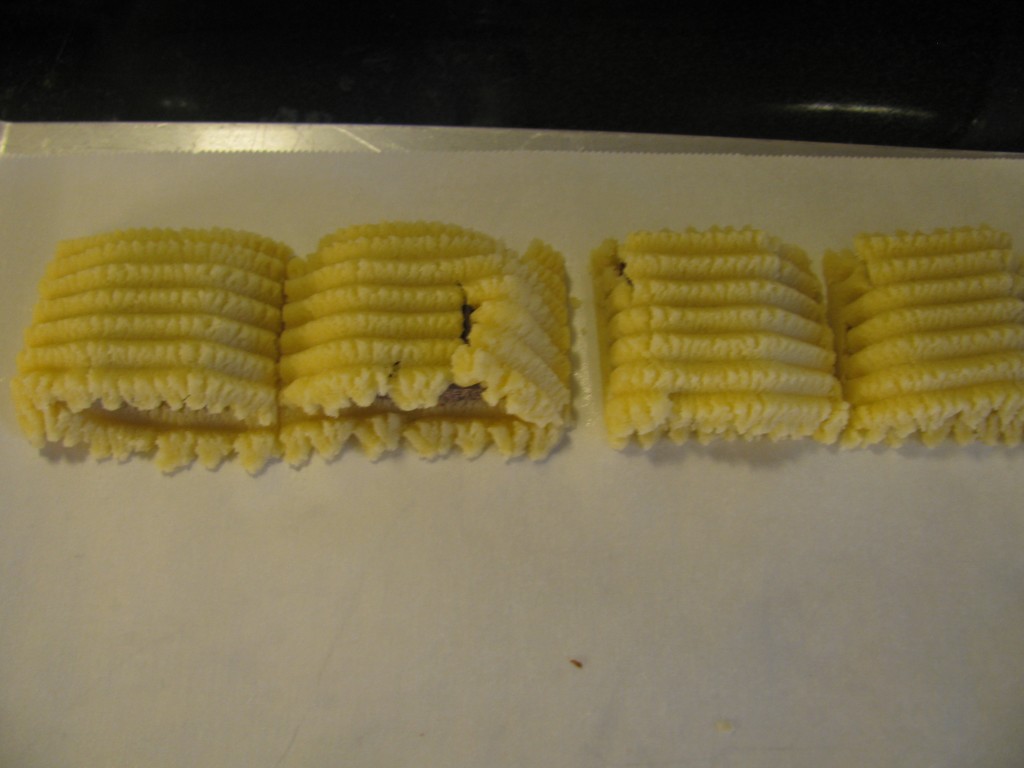
I like to put sprinkles on top, but you don’t have to – there’s plenty of sweetness in this cookie. But it’s pretty.
These will take a little longer to bake because of their thickness. Start at 12 minutes, and keep checking at 2-minute intervals, until they look like this:
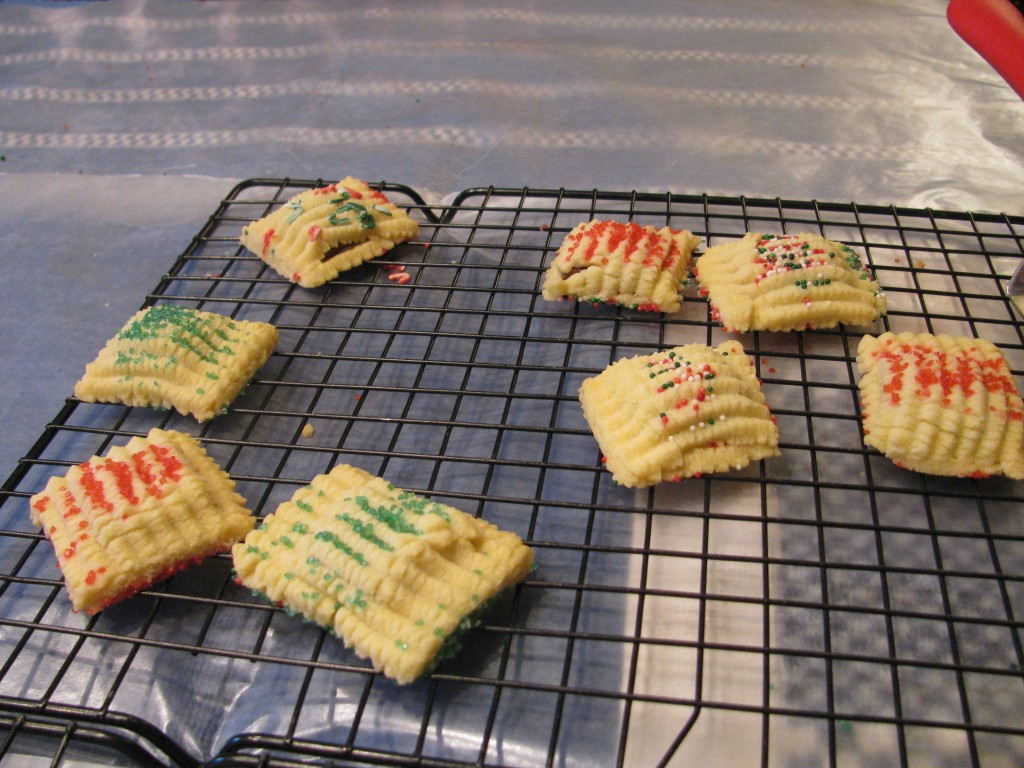
These are so good, you’ll want someone standing guard over them:

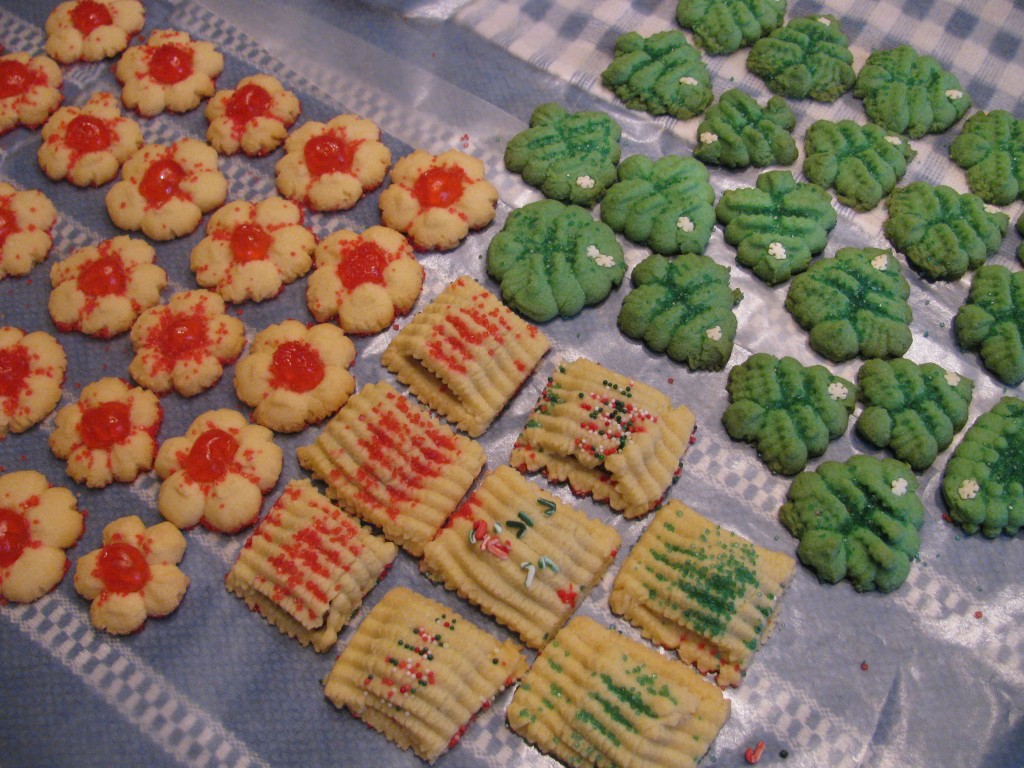
Here are other variations of the dough that I do:
Have you tried a cookie press for your recipes? What’s your favorite cookie? I’d love to hear from you!
Happy Holidays,
Kathy
P.S. – I have an exciting announcement:
Dangerous and Unseemly: A Concordia Wells Mystery (Book 1), is now available as an audiobook!
Produced and Narrated by Becket Royce
Start listening at the click of a button:




Yummmmmy! I remember when you shared this before! I love friends who bake cookies! 🙂
Thanks, Renee! I decided this recipe deserved another turn in the spotlight. Wish I could share the cookies themselves!
I want cookies! (Oops, I’ve turned into Cookie Monster!)
“C” is for “cookie.” Kassandra, I think there’s a little Cookie Monster in each of us! 😉
Yum! I really have to try these. The one thing missing from most sugar cookies is chocolate. 😉
I hope you get a chance to try it out, August, and I agree about the chocolate!
Holy canoli – I want me one of those pillow things.
I hope you have a delicious Christmas!
Patricia Rickrode
w/a Jansen Schmidt
Thanks, Patricia – a Merry Christmas to you, too! Hope you’re staying dry out there in Cali.
Can I just say, “YUM?!!” I’m just now getting around to all the posts and such that I missed over the holidays. However, the cooties have left my house (may they stay away for a long time).
How were your holidays??
The holidays were really nice, thanks for asking! So glad you all are well; there are so many viruses and flus going around now, ugh. Happy 2015!